
10 Steps to Apply Blush for a Lifted Face Look
Quick Summary
To get a lifted face look with blush, place the color high on the upper cheekbones, just under the outer edge of the eyes, and blend it upward toward the temples. Start with a light amount and build slowly, so the blush for a lifted look stays natural.
- Smile slightly to find the high point of your cheekbone before applying.
- Tap off excess product from the brush so color goes on sheer.
- Sweep upward and back toward the temple in short, light strokes.
- Keep color away from the center of the cheek apples.
- Add a second light layer only if you want more color.
Table of Contents
Why Blush Placement Changes the Way Your Face Looks
Placing blush higher, on the upper cheekbones, and blending it upward toward the temples creates a lifted, awake look.
Move the color up and out for a lifted look.
Blush placement can change the look of your makeup. Apply it high and blend it back for a lifted look.
Start with a light amount and build slowly.
What You Need Before You Start Your Blush Routine
Start with a blush you like. Our Powder Blush comes in three shades, Barely Mauve, Lotus and Peach Daiquiri, and it is lightweight and easy to build. It is priced at $15.00 and is cruelty-free and paraben-free.
Our Dual-Ended Retractable Complexion Brush, priced at $30.00, has a compact design.
Step-by-Step: How to Apply Blush for a Lifted Face Look
Follow these steps in order.
- Find your cheekbone. Smile slightly and touch the high point of your cheek, right where it lifts.
- Load your brush lightly. Tap off the excess so the color goes on sheer.
- Start at the top of the cheekbone. Place the brush just under the outer edge of the eye.
- Sweep upward and back. Blend toward the temple in short, light strokes.
- Keep the color away from the center of the cheek apples.
- Check both sides. Make sure the placement is even.
- Build slowly. Add a second light layer only if you want more color.
- Blend out any hard edges. Soft edges look more natural.
- Pull the color slightly toward the hairline for an elongated effect.
- Step back and check the full face in good light.
Our Sunkissed Bronzer and Glow Drops, priced at $27.00, can be applied to the cheekbone for a luminous finish.
Blush Placement for Face Shape: Adjusting the Lift to Your Features
Cream Blush vs Powder Blush for a Lifted Look
Our Powder Blush is buildable, so you can keep the first layer sheer and add more only where you want color. You can see the Powder Blush shades and details here.

Blush and Contour Placement for a Lifted Face
Fixing Common Blush Mistakes That Drag Your Face Down
Building Your Lifted Blush Routine Into a Quick Daily Habit
Frequently Asked Questions
Where should you apply blush for a lifted look?
Keep the color light at first, since you can always add more.
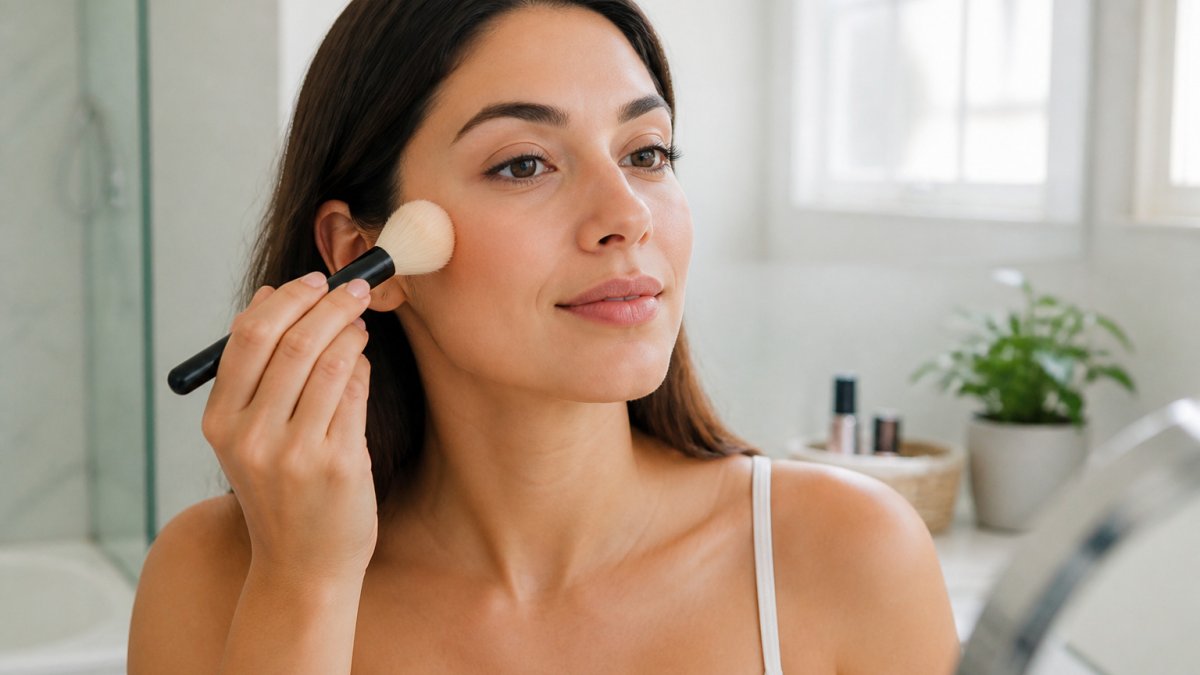
Should blush go above or below the cheekbones?
For a lifted look, blush should sit on the cheekbone itself or just above it, not below. Blush placed below the cheekbone tends to make the face look heavier and rounder. To find the right spot, smile and press your fingers gently onto the top of your cheek. The firm, raised area under your fingers is where blush should start. Blend upward toward your hairline so the color looks soft rather than stuck on, and avoid letting it drift down toward the center of your face.
Where should you put blush on an older face?
On mature skin, placement matters even more because lines and texture can make blush settle into creases. Apply blush slightly higher and use a sheer layer, blending it upward toward the temples with a fluffy brush. Cream or liquid formulas can look heavy on textured skin, so a light powder often reads more natural. A little bit of highlighter on the top of the cheekbone afterward can help the blush look fresh rather than flat. Start with minimal product and build only where needed.
How do you blend blush upward?
After applying blush at the top of your cheekbone, use a clean, fluffy brush to sweep upward in short, light strokes toward the temple. Avoid dragging the color down or across the cheek, which can pull the face downward. Keep going until the edges fade into your skin tone with no harsh line. If the color looks too intense, tap the brush lightly over the area to soften it. The goal is a gradient that looks like natural flush rather than a visible stripe of product.
